
Recovery in The Field - 1944

Page 2
Routine of Recovery

To go back to the point where the minefield was cleared, it is important to note that when the recovery vehicle is brought up the operation is carried out to a definite drill' as follows:-
- Men jump out of breakdown lorry and .`number off.'
- Sentries are posted.
- Rifles are stacked in the cab of the vehicle in numerical order so that the driver can hand out quickly in the event of further attack (as mentioned previously, recovery is often carried out in darkness).
- The Warrant officer in charge of the L.A.D. decides the method of recovery, e.g. direct pull on winch or 2 to I or 4 to I layout.
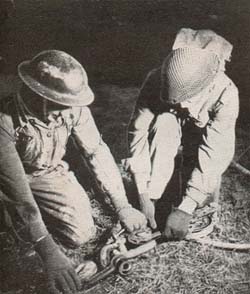
- Men responsible get the equipment out of the lorry as indicated in Fig9 whilst others clear the scout car wreckage and debris away. (Important here that each man should know his particular job in team as well as the work of others, to avoid confusion in darkness.)
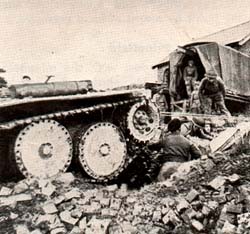
- Snatch block and tackle is laid down to permit movement of the tank by the 3 ton recovery vehicle (see Fig 10) and the strain taken on the winch.
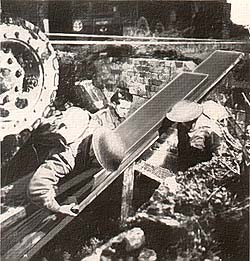
- Gun planks are next placed in position to enable the tank to be drawn up over the wall out of the crater as indicated in Fig11.
Repelling an Attack
At this stage, the recovery is interrupted by an enemy patrol and action is taken by the L.A.D. to counter this. Rifles are speedily collected and positions taken up, a Bren gun being posted on the right front to keep up constant fire accompanied by two other men with rifles. The main body of the L.A.D., under the sergeant major, deploy left and re-appear to the left of the damaged house on the right flank and slightly to the rear of the enemy, attacking with grenades and bayonets.
After disposing of the patrol, the L.A.D. reorganise and number off to find that a key man, the driver, is a casualty, so that another man is detailed to replace him.
Loading on to the Transporter
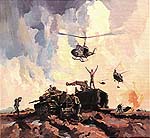
Recovery is now resumed (Fig. 12) the operation of the winch being controlled by signs and signals. This procedure is always adopted as the human voice may not be audible above the noise of battle or silence may be essential to prevent revealing the presence of the L.A.D.
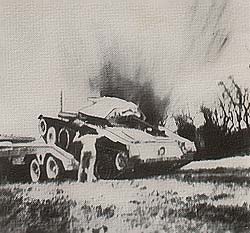
The recovery completed, the tank transporter has now arrived and the damaged tank loaded on to it (see Fig. 13), whilst a stray shell bursts in close proximity at the rear.